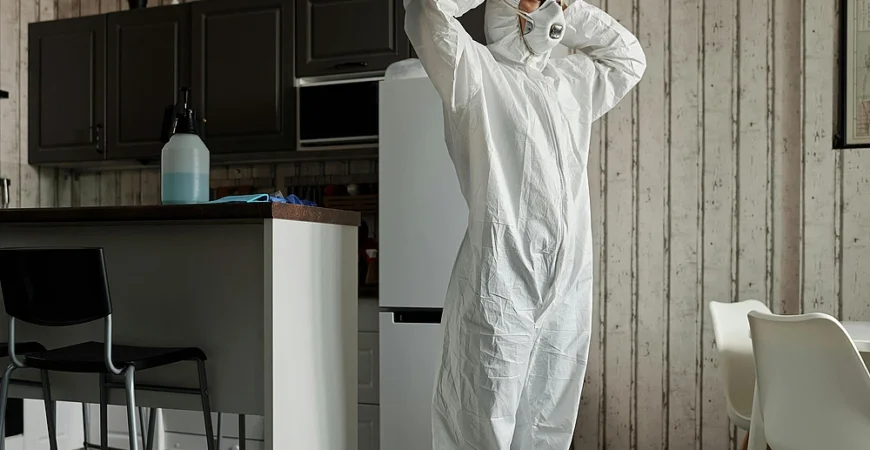
Preparation is the key to a perfect paint job. Even the highest-quality paints will fail to deliver a flawless finish if surfaces are dirty, damaged, or improperly prepped. Here’s a professional checklist to help you prepare your interior space before the first brushstroke.
Step 1: Clear the Area
Move furniture out of the room or to the center and cover with plastic or drop cloths. Remove wall décor, window treatments, and switch plate covers to allow full access to the surfaces.
Step 2: Clean the Surfaces
Use a mild detergent or TSP solution to clean walls and remove dust, grease, and stains. In kitchens and bathrooms, this is especially important for proper adhesion.
Step 3: Repair Imperfections
Inspect the walls for nail holes, dents, or cracks. Use spackle or joint compound to fill in imperfections, then sand smooth once dry.
Step 4: Protect Fixtures and Floors
Cover baseboards, floors, and non-removable fixtures with painter’s tape and drop cloths. Be precise with taping edges to achieve crisp, professional lines.
Step 5: Prime When Necessary
Apply primer on patched areas or surfaces with stains, water damage, or drastic color changes. This ensures even paint absorption and better color accuracy.
Step 6: Sand and Dust Again
After priming, do a light sanding of the walls and trim to smooth out the surface. Wipe down surfaces with a tack cloth or microfiber cloth to remove fine dust.
Step 7: Ventilate the Area
Ensure good air circulation. Open windows or use fans for airflow, especially when working with oil-based paints or primers.
Proper preparation not only makes the painting process smoother but significantly extends the life and beauty of the paint job. With a little extra effort upfront, your interiors will look stunning and stand the test of time.


